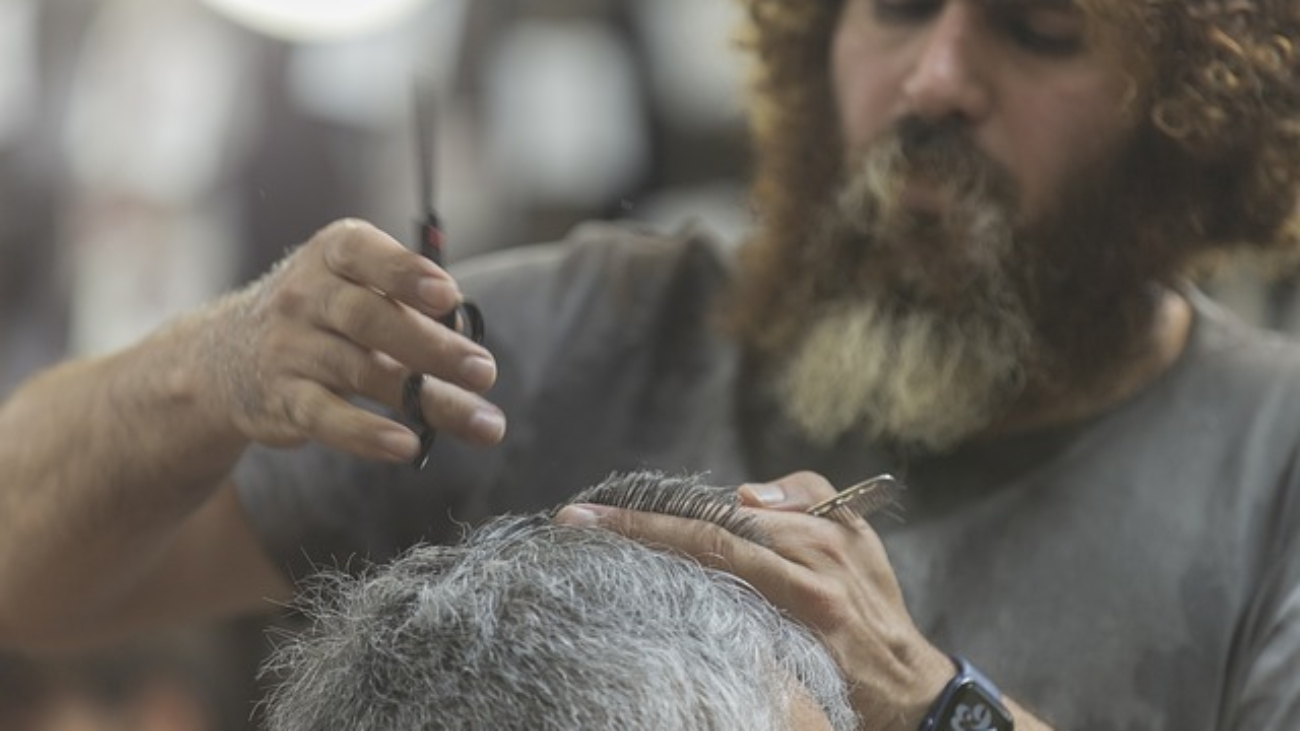
Beyond Buffing and Bubbles Mastering the Art of DIY Manicures and Pedicures Like a Pro

Mastering the Art of DIY Manicure and Pedicure Like a Pro

Beyond Buffing and Bubbles: Mastering the Art of DIY Manicures and Pedicures Like a Pro

Forget overpriced salon trips and endless bottles of forgotten polishes. Achieving salon-worthy manicures and pedicures is within your reach, and you don’t need a magic wand or a barber’s license. All it takes is a little understanding, the right tools, and a sprinkle of practice. So, dust off your nail kit, grab a comfy chair, and prepare to transform your digits into dazzling masterpieces.

Prepping for Perfection:

Before even diving into the world of polish, setting the stage is crucial. Gather your tools – nail clippers, file, buffer, cuticle pusher, cotton swabs, acetone-free remover, base coat, your favorite colors, and top coat. Next, create a spa-like ambiance. Light soothing candles, dim the lights, and put on your favorite tunes. Remember, self-care is half the battle!

Foot Focus: Mastering the Pedicure:

  1. Soak and Scrub: Fill a basin with warm water and indulge in a 10-minute soak. Add a few drops of essential oil for an extra pampering touch. While your feet soften, whip up a DIY scrub with equal parts brown sugar and olive oil. Gently massage your feet, paying special attention to heels and calluses.
  2. Shape and Shine: Dry your feet thoroughly and trim your nails straight across, leaving just a sliver of white. File edges gently to avoid breakage. Use a pumice stone or foot file to buff away rough patches. Now, the fun part – buff your nails to a beautiful sheen!
  3. Polish with Precision: Apply a base coat to protect your nails. Choose your favorite color and paint in thin, even coats, starting from the center and working your way outwards. Don’t forget to seal the deal with a top coat for a chip-resistant finish.

Hand-Crafted Beauty: The Art of the Manicure:

  1. Shape and Prep: Start by trimming and shaping your nails to your desired length and style. Opt for oval or slightly rounded edges for a classic look, or embrace the square trend for a modern touch. Gently push back your cuticles with a cuticle pusher, but avoid cutting them!
  2. Soak and Buff: Treat your hands to a warm soak while your nails soften. Apply a cuticle oil for extra nourishment. Once dry, buff your nails lightly to create a smooth canvas for the polish. Remember, over-buffing can weaken your nails, so a gentle touch is key.
  3. Paint to Perfection: Apply a base coat, followed by your chosen color(s). Layer thin coats for a flawless finish, and don’t forget to clean up any stray polish with a cotton swab dipped in acetone-free remover. Finish with a generous layer of top coat for long-lasting wear.

Pro Tips for Polished Perfection:

  • Invest in quality tools: A few good-quality tools will make all the difference. Look for ergonomic clippers and files, and prioritize tools made from stainless steel for easy cleaning and longer use.
  • Thin is the way to win: When applying polish, less is always more. Thin coats ensure a smoother finish and minimize the risk of smudges.
  • Clean as you go: Dip your brush in nail polish remover between coats to prevent buildup and ensure a clean, crisp line.
  • Practice makes perfect: Like any skill, mastering manicures and pedicures takes time and practice. Don’t be discouraged by the occasional misadventure; just clean up, try again, and enjoy the process!

So, there you have it. Forget the exorbitant salon bills and embrace the empowering world of DIY nail care. With dedication, the right tools, and a touch of creativity, you can transform your fingertips into works of art, all from the comfort of your own home. Remember, it’s not just about the perfect polish; it’s about carving out some time for self-care and celebrating your individuality. So, grab your brush, put on your favorite tunes, and get ready to paint your own path to nail perfection! Still if you need help or looking for best manicure and pedicure services, you can visit Men Zone the best barbershop Canada, Ontario, Toronto, Oakville, Mississauga, Milton, Burlington, Brampton, etc.

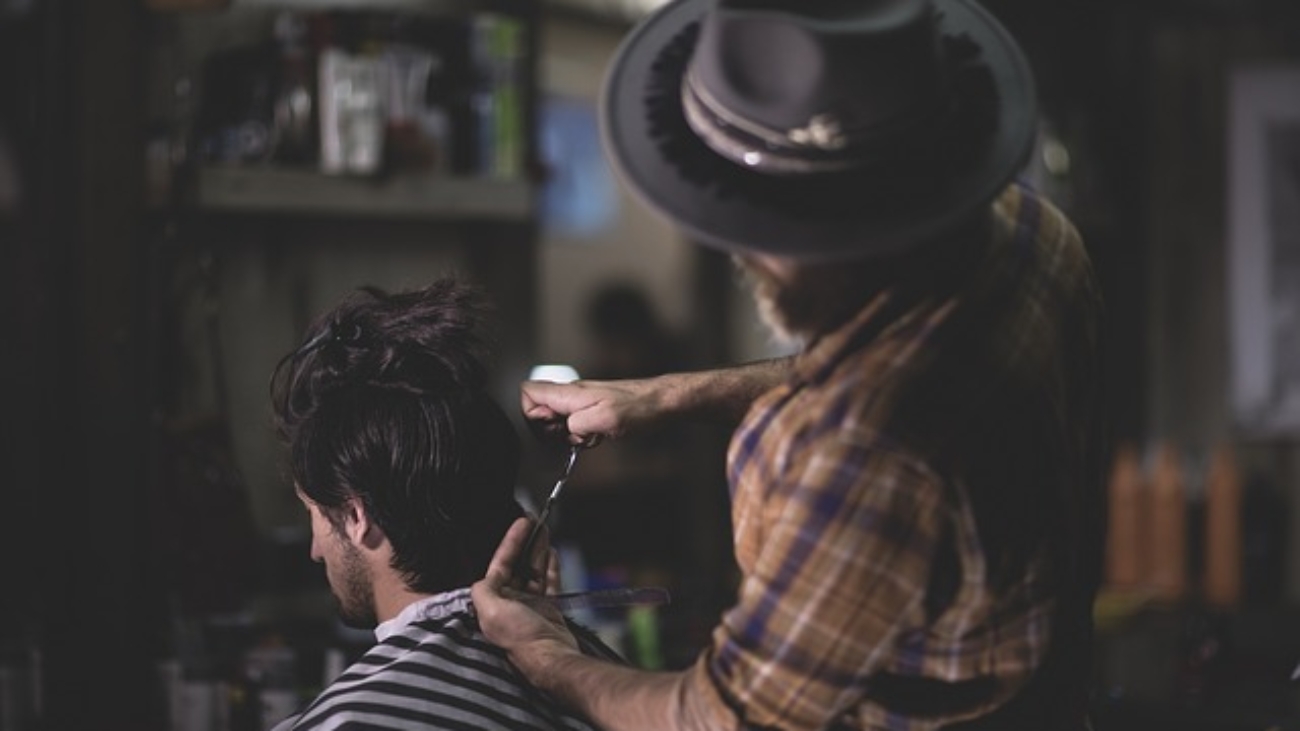
How to Do Your Own Beard Styling

How to Do Your Own Beard Styling

Beard styling can be a daunting task, especially if you’re new to it. But with a little practice, you’ll be able to style your beard like a pro in no time.

Here are a few tips:

  1. Start with clean, dry hair. Dirty hair is more difficult to style and will not hold a style as well as clean hair.
  2. Choose the right products for your beard type. If you have a short beard, you may want to use a light oil or balm. If you have a long beard, you may want to use a heavier oil or balm.
  3. Use a comb or brush to distribute the product evenly throughout your beard.
  4. Style your beard according to your desired style.

Here are a few specific styling tips for different beard lengths:

  • Short beard: For a short beard, you can simply comb or brush your beard in the direction of growth. You may also want to use a light oil or balm to help keep your beard soft and hydrated.
  • Medium beard: For a medium beard, you can start by combing your beard in the direction of growth. Then, you can use a beard trimmer to trim the sides and neckline of your beard. You may also want to use a heavier oil or balm to help keep your beard soft and hydrated.
  • Long beard: For a long beard, you will need to use a beard trimmer to trim the sides and neckline of your beard. You may also want to use a beard straightener to straighten your beard.

Here are a few additional tips for beard styling:

  • Use a mirror to see what you’re doing. This will help you to avoid making mistakes and will ensure that your style is even.
  • Take your time. Don’t rush your styling routine. Take your time to comb or brush your beard, trim your beard, and style your beard according to your desired look.
  • Don’t be afraid to experiment. There are no rules when it comes to beard styling. Try different products and techniques to find what works best for you.

With a little practice, you’ll be styling your beard like a pro in no time. For best beard services, we recommend you to visit Men Zone Barbershop.

hHow To Use Laser Hair Removal Servicesaircut-4019676_640

How To Use Laser Hair Removal Services

Laser hair removal is a medical procedure that uses a laser to remove unwanted hair. The laser light is absorbed by the pigment in the hair follicles, which damages the follicles and prevents them from producing new hair.

Laser hair removal is a relatively safe and effective procedure, but it is important to choose a qualified and experienced practitioner.

How to use laser hair removal services

  1. Choose a qualified and experienced practitioner. This is the most important step in using laser hair removal services. A qualified and experienced practitioner will be able to assess your skin type and hair color to determine if laser hair removal is right for you. They will also be able to choose the right laser settings and administer the treatment safely and effectively.
  2. Schedule a consultation. During the consultation, the practitioner will assess your skin type and hair color to determine if laser hair removal is right for you. They will also answer any questions you have about the procedure.
  3. Prepare for your treatment. Before your treatment, you will need to shave the area to be treated. You should also avoid sun exposure for at least two weeks before and after your treatment.
  4. Arrive for your treatment. When you arrive for your treatment, the practitioner will cleanse the area to be treated. They will then apply a cooling gel to the area and put on protective eyewear for both of you.
  5. Undergo the treatment. The practitioner will use the laser to target the unwanted hair. The laser light will feel like a warm or hot sensation on the skin. The treatment usually takes about 30 minutes to an hour.
  6. Follow the practitioner’s post-treatment instructions. After the treatment, the practitioner will apply a moisturizer to the treated area. You will need to avoid sun exposure for at least two weeks after your treatment.

Tips for using laser hair removal services

  • Be honest with your practitioner about your medical history and any medications you are taking.
  • Avoid sun exposure for at least two weeks before and after your treatment.
  • Shave the area to be treated before your treatment.
  • Follow the practitioner’s post-treatment instructions.

Benefits of laser hair removal

  • Long-lasting results: Laser hair removal can permanently reduce the amount of hair in the treated area.
  • Smooth, hair-free skin: Laser hair removal can leave the skin feeling smooth and hair-free.
  • Reduced ingrown hairs: Laser hair removal can help to reduce the number of ingrown hairs.
  • Reduced shaving time: Laser hair removal can save you time and hassle by reducing the amount of time you need to spend shaving.

Conclusion

Laser hair removal is a safe and effective procedure for removing unwanted hair. If you are considering laser hair removal, be sure to choose a qualified and experienced practitioner. For best laser hair removal, we recommend you to visit Men Zone.

What is Wax Hair Removal

What is Wax Hair Removal?

Wax hair removal is a method of removing unwanted hair from the root by applying a sticky substance, such as wax, to the skin and then removing it with a cloth strip. The wax adheres to the hair and removes it when the strip is pulled off. Wax hair removal can be done on any part of the body, but it is most commonly used on the legs, bikini line, underarms, and face.

There are two main types of wax used for hair removal: hard wax and soft wax. Hard wax is applied to the skin and allowed to cool and harden before being removed. Soft wax is applied to the skin with a cloth strip and then removed immediately.

Wax hair removal is a relatively safe and effective method of hair removal. However, it is important to follow the instructions carefully to avoid burns and irritation.

How does wax hair removal work?

Wax hair removal works by adhering to the hair and removing it from the root. The wax is heated and applied to the skin in the direction of hair growth. A cloth strip is then pressed onto the wax and pulled off in the opposite direction of hair growth. The wax adheres to the hair and removes it from the root.

What are the benefits of wax hair removal?

Wax hair removal has a number of benefits, including:

  • Long-lasting results: Wax hair removal removes hair from the root, so results can last for up to six weeks.
  • Smooth, hairless skin: Wax hair removal leaves the skin smooth and hairless.
  • Reduced ingrown hairs: Wax hair removal can help to reduce the number of ingrown hairs.
  • No stubble: Wax hair removal removes hair from the root, so there is no stubble left behind.

Who is a good candidate for wax hair removal?

Wax hair removal is a good option for people who have unwanted hair on any part of their body. Wax hair removal is most effective on people with light skin and dark hair.

What to expect during a wax hair removal treatment?

During a wax hair removal treatment, the practitioner will apply wax to the area to be treated and then remove it with a cloth strip. The process is usually done in sections to reduce discomfort.

The amount of discomfort associated with wax hair removal varies from person to person. Some people find the process to be quite painful, while others find it to be only mildly uncomfortable. The discomfort usually lasts for only a few seconds after the wax is removed.

Are there any risks or side effects associated with wax hair removal?

Wax hair removal is a relatively safe procedure, but there are some potential risks and side effects, including:

  • Skin irritation: Wax hair removal can cause redness, swelling, and burning of the skin.
  • Blisters: In rare cases, wax hair removal can cause blisters.
  • Infection: If the skin is not properly cleaned before and after waxing, there is a risk of infection.
  • Ingrown hairs: Wax hair removal can sometimes cause ingrown hairs.

How to prepare for a wax hair removal treatment?

There are a few things you can do to prepare for a wax hair removal treatment, including:

  • Avoid sun exposure: Avoid sun exposure for at least 24 hours before your treatment.
  • Exfoliate the area to be treated: Exfoliating will help to remove dead skin cells and make it easier for the wax to adhere to the hair.
  • Avoid using lotions or oils: Avoid using lotions or oils on the area to be treated on the day of your appointment. This can prevent the wax from adhering to the skin.

How to care for your skin after a wax hair removal treatment?

There are a few things you can do to care for your skin after a wax hair removal treatment, including:

  • Apply a cool compress: Apply a cool compress to the treated area to help reduce inflammation and discomfort.
  • Use a moisturizer: Use a moisturizer to keep the treated area hydrated.
  • Avoid sun exposure: Avoid sun exposure for at least 24 hours after your treatment.

Conclusion

Wax hair removal is a safe and effective method of removing unwanted hair. If you are considering wax hair removal, be sure to choose a qualified and experienced practitioner. For best wax hair removal, we recommend you to visit Men Zone Barbershop.

How to Do a Beard Shave, Best & Safe

How to Do a Beard Shave, Best & Safe

Shaving your beard can be a daunting task, especially if you’re used to having a long beard. But with a little practice, you’ll be able to shave your beard like a pro in no time.

Here are a few tips:

  1. Start with clean, dry skin. Dirty skin is more difficult to shave and will not hold a shave as well as clean skin.
  2. Use a sharp razor. A dull razor will cause irritation and razor burn.
  3. Use a shaving cream or gel. This will help to lubricate your skin and reduce friction.
  4. Shave in the direction of hair growth. Shaving against the grain can cause irritation and ingrown hairs.
  5. Rinse your razor often. This will help to remove hair and shaving cream from the razor.
  6. Apply a moisturizer after shaving. This will help to soothe your skin and prevent dryness.

Here is a step-by-step guide on how to shave your beard:

  1. Wash your face with a warm, soapy washcloth. This will help to soften your beard and remove any dirt or oil.
  2. Apply a shaving cream or gel to your beard. Be sure to cover all of the areas that you want to shave.
  3. Use a sharp razor to shave in the direction of hair growth. Start at the cheeks and work your way down to your neck.
  4. Rinse your razor often. This will help to remove hair and shaving cream from the razor.
  5. Once you’re finished shaving, rinse your face with cold water. This will help to close your pores and reduce irritation.
  6. Apply a moisturizer to your face. This will help to soothe your skin and prevent dryness.

If you have a long beard, you may want to trim it before shaving. This will make it easier to shave and will help to prevent razor burn.

Here are a few additional tips for shaving your beard:

  • Use a pre-shave oil. This will help to soften your beard and prepare it for shaving.
  • Use a hot towel to steam your face. This will help to open your pores and make it easier to shave.
  • Use a light touch. Don’t press too hard on the razor, as this can cause irritation.
  • Shave in sections. This will help to avoid razor burn.
  • Take your time. Don’t rush your shave.

With a little practice, you’ll be shaving your beard like a pro in no time. For best beard services, we recommend you to visit Men Zone.

How to Do Your Own Facial Services

How to Do Your Own Facial Services

Whether you’re looking to save money or simply enjoy the pampering experience, doing your own facial services at home can be a great option. Here is a step-by-step guide on how to do a basic facial at home:

Step 1: Prepare your skin.

Start by removing all of your makeup with a gentle cleanser. Then, use a warm washcloth to steam your face for a few minutes. This will help to open your pores and loosen any dirt or oil.

Step 2: Exfoliate.

Once your skin is steamed, use an exfoliator to remove dead skin cells. You can use a physical exfoliator, such as a scrub, or a chemical exfoliator, such as an AHA or BHA product. Be sure to exfoliate gently to avoid irritating your skin.

Step 3: Mask.

After exfoliating, apply a face mask to your skin. Choose a mask that is appropriate for your skin type. For example, if you have dry skin, you may want to use a hydrating mask. If you have oily skin, you may want to use a clay mask.

Step 4: Moisturize.

Once your mask has dried, remove it with a warm washcloth. Then, apply a moisturizer to your face. Be sure to choose a moisturizer that is appropriate for your skin type.

Following these steps will give you a basic facial that will help to clean, exfoliate, and hydrate your skin. You can also add additional steps to your facial routine, such as using a toner or serum.

Here are a few additional tips for doing your own facial services at home:

  • Use clean tools and products. This will help to prevent the spread of bacteria.
  • Be gentle with your skin. Avoid scrubbing your skin too hard, as this can irritate it.
  • Listen to your skin. If a product or treatment is causing discomfort, stop using it immediately.
  • Do a patch test before using any new product. This will help to determine if you have any allergies to the product.

With a little practice, you’ll be able to do your own facial services at home like a pro. For best facial services, we recommend you to visit Men Zone.